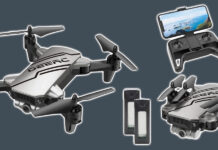
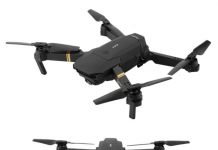
Tello is an absolutely fantastic mini drone, and it’s fun to fly for kids and adults. Now that you’ve finally gotten yourself one, you have to learn how to operate it, from the Tello battery, the propellers, the motor, and all.
Basic Guide for Operating a Tello Mini Quadcopter

The following is a basic guide for operating a Tello mini quadcopter:
- After putting the parts of the drone together, download the Tello app from your Android via the Playstore or the App Store on your iPhone.
- Then check the motors and the propellers. See to it that they are properly installed.
You will notice that the propellers and motors are differentiated by marks. Accordingly, CW and CCW propellers should be attached only to CW and CCW motors. Propellers and motors with notches and markings have a clockwise propeller rotating direction while those without notches and markings rotate anti-clockwise.
- The next step is to insert a full-flight Tello battery. You can check if it is fully-charged by inserting a USB adapter on the side of the drone. If the light is colored solid blue, it means it is full.
- Connect your smartphone (with the downloaded Tello app) to the aircraft via Wifi. Press the button on the side of the machine to initiate the connection. You can locate the specific serial number of your Tello drone by checking the battery unit area.
- Select the Tello wifi in your smartphone and you should be able to establish the connection.
- When the connection has been set-up, the light indicators in the quadcopter will show various colors and modes.
In the normal state, alternating red, white, green, and yellow lights intermittently flashing means that the drone is turning on and performing a self-diagnostic test. Greenlight that blinks twice signifies that the video positioning system is working. Interval flashing of yellow light means that the video positioning system is unavailable.
The charging state of the Tello mini-drone indicates the following light indicators. Blue color solidly lighting means that the Tello battery is fully charged. If the same blue light blinks slowly, then the battery is charging. Is the blue light blinking quickly? In that case, there is a charging error.
The warning state light indicators are as follows. If the yellow light is slowly blinking, it signifies that the signal of the remote control is lost. Red light slowly flashing implies that the battery is running low. A quickly blinking red light suggests that battery power is critically low at almost 0%. A solid red light indicates a critical error, an example which is the aircraft tilting or a navigation system error.
- You then launch the Tello app. Here’s how to do it:

If you are a beginner, you need to stick to a safe handling speed by setting it to “SLOW” flight speed. Do this by pressing the “settings” gear button. Go to the left-hand corner, at the top of the screen, then push “TAKE OFF”. Then swipe “TAKE OFF” to initiate the action.
To determine where your drone is facing, note that the light indicator is the direction where it is heading, and the tail of the drone is where the Tello battery is located at.
If your Tello drone is experiencing an error, it needs to be calibrated.
The error typically shows at the bottom of the screen. Go to “SETTINGS”- “MORE”- (DOTS ICON) then calibrate by selecting “IMU STATUS”. Follow the instructions indicated on the screen.


