
If you are thinking of buying a drone or you already have one, this blog is for you! With these tips, you’ll be able to develop or improve your photography process and get more out of your drone.
At first, unboxing my Mavic Air made me super excited, however, I was also quite overwhelmed on where to start. How to get those stunning photos that you’d like to frame on your wall?
Why does the footage look dull? So by all means, I won’t declare I am the expert, yet I am happy to share my tips on finding your way into droning!
1. Practice and make yourself familiar with flying your drone.
Table of Contents

There’s nothing more exciting than reading a manual when you first buy electronics right? Yes, I feel your pain.
All you want is to run to your nearest open space and lift off the drone and enjoy the view. Resist the urge to do that. You will enjoy your first couple of flights much more when you’re a little bit more prepared!
For instance, with my drone the DJI Mavic Air, came with some comprehensive ‘start-to-fly’ guides to make you more knowledgeable about what your drone can do and how to make sure you do it right. You can access them through the DJI app when connected to your drone.
If you’re a bit of a daredevil or more a hands-on kind of learner, I’m a bit in the middle, I would find a safe spot where you can fly without interruptions or risks (like big open fields) and get familiar with the controls before you even start thinking of camera settings, compositions or flight modes.
That stuff will come easier once you know how to fly it. Basics first, it’s important to know your drone and it’s limitations.
Once you get more comfortable getting your drone safely off the ground, start finding different spots, fly at different times of the day, start flying in various conditions (cloudy/sunny) and try out some flight modes. Make sure you never lose sight of your drone, you’ve paid a lot of money for that!
2. Figure out what is your goal & style of your photography
Not everyone aspires to be the next National Geographic photographer, so it’s good to think briefly about what you’d like to get out of your photography.
Setting realistic goals for slowly improving your game will make your journey much more fulfilling and prevents disappointments. Don’t worry, all first photos look like they could use some help.
Is this more for hobby or are you looking to become a pro? Are you sending them to your grandma only, are you building a portfolio to add onto your existing one, are you taking it online to create a following?
Up to you, but start small and remember that it takes time to master a new skill and to find your own style.
3. Plan your shots
Instead of just hopping in your car and driving somewhere just for the sake of flying the drone, you’ll improve much faster if you put some thought into your shots.
On top of that, everyone that has flown a drone before knows that it’s fun but it doesn’t last forever. To maximize your flight time, plan your shots and stick to that plan. It’s easy to get distracted and waste battery!
Basic things to consider?
- Area: Some countries or regions have very specific restrictions and rules on flying
drones. Save yourself the trouble and do some Googling before you arrive
somewhere only to be sent away or be fined!
- Location: use Google Maps and Instagram to scout a good location and have a look
around (physically walk around the area) to find cool angles and spot potential
hazards (powerlines, trees, towers, lines)
- Conditions: One massive factor to consider is wind. Fly only when you’re comfortable
with the conditions. A drone can handle a surprising amount of wind but remember if it’s super windy already from where you stand, think about how powerful those winds are 100m/330ft above you without anything to slow that down.
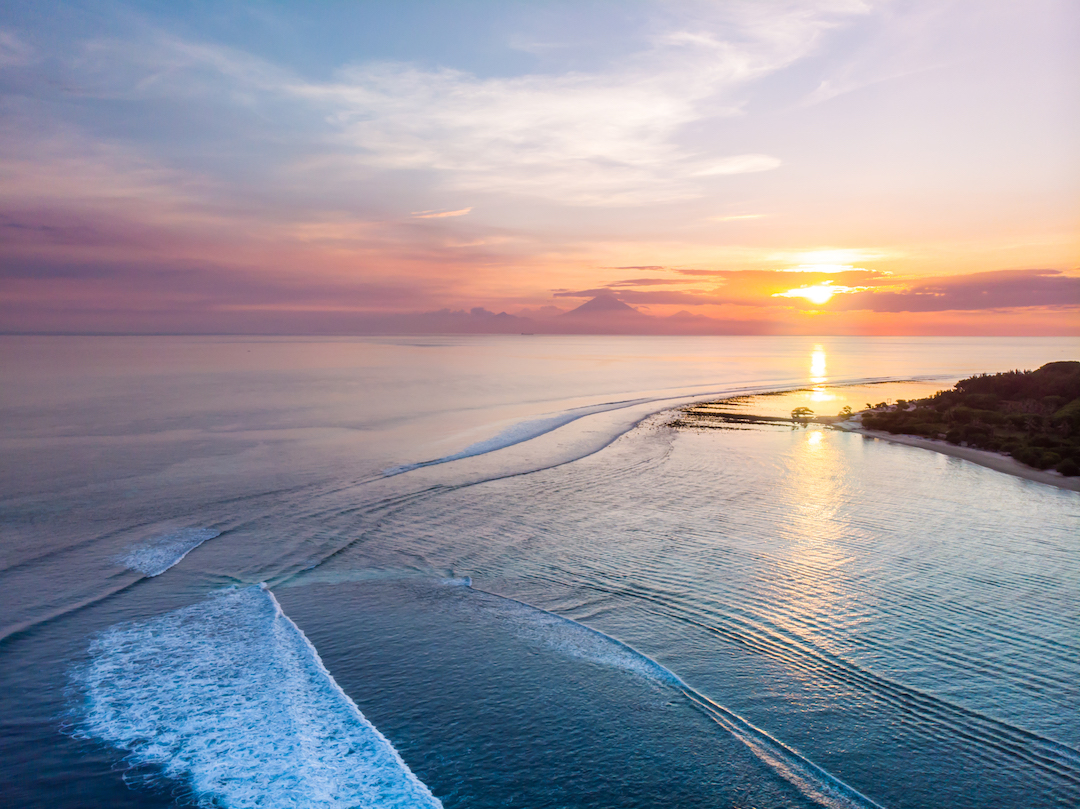
A sudden gust of wind can send your drone into directions you don’t want. Another important factor is the amount of light. Allow yourself to have some time to prepare your drone and take advantage of the time of day (very important during sunrise/sunset shots) Don’t fly in the dark!
4. Now, let’s get creative!
As with all photography, the composition is key. Educate yourself on what makes a photo good and pleasing for the eye. I’ve watched many YouTube tutorials on cinematic drone shots because I like those!
Find shots that you like and ask yourself why do you like them?
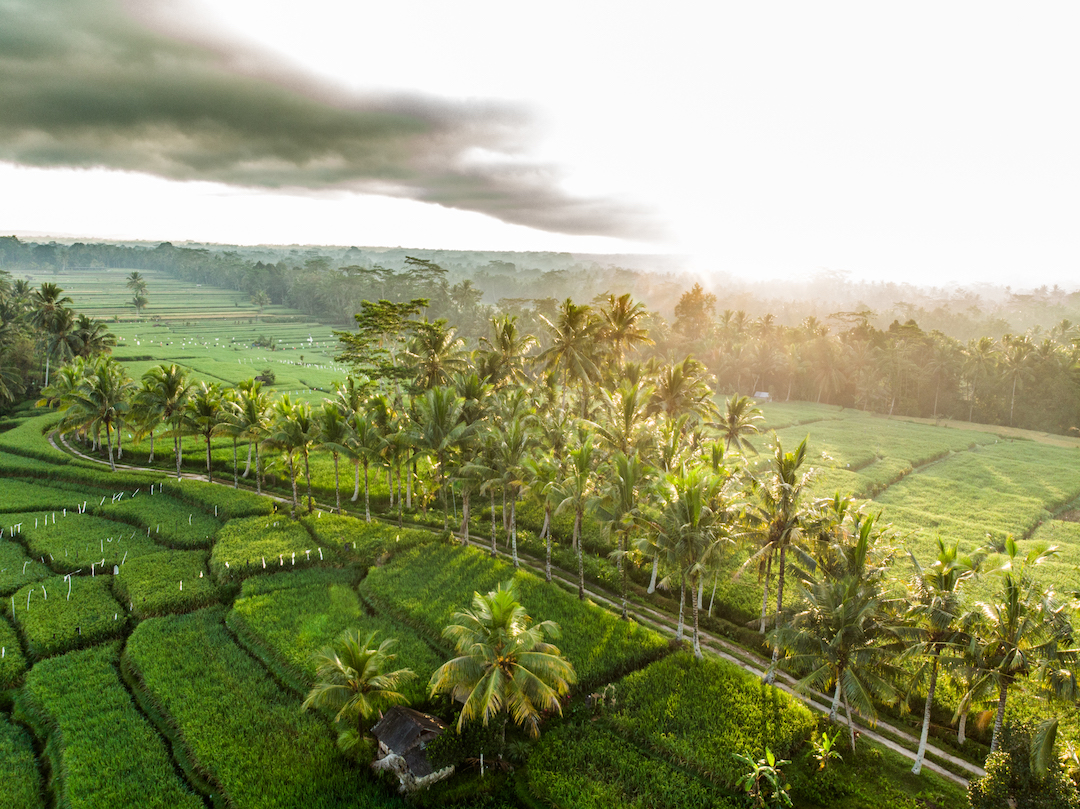
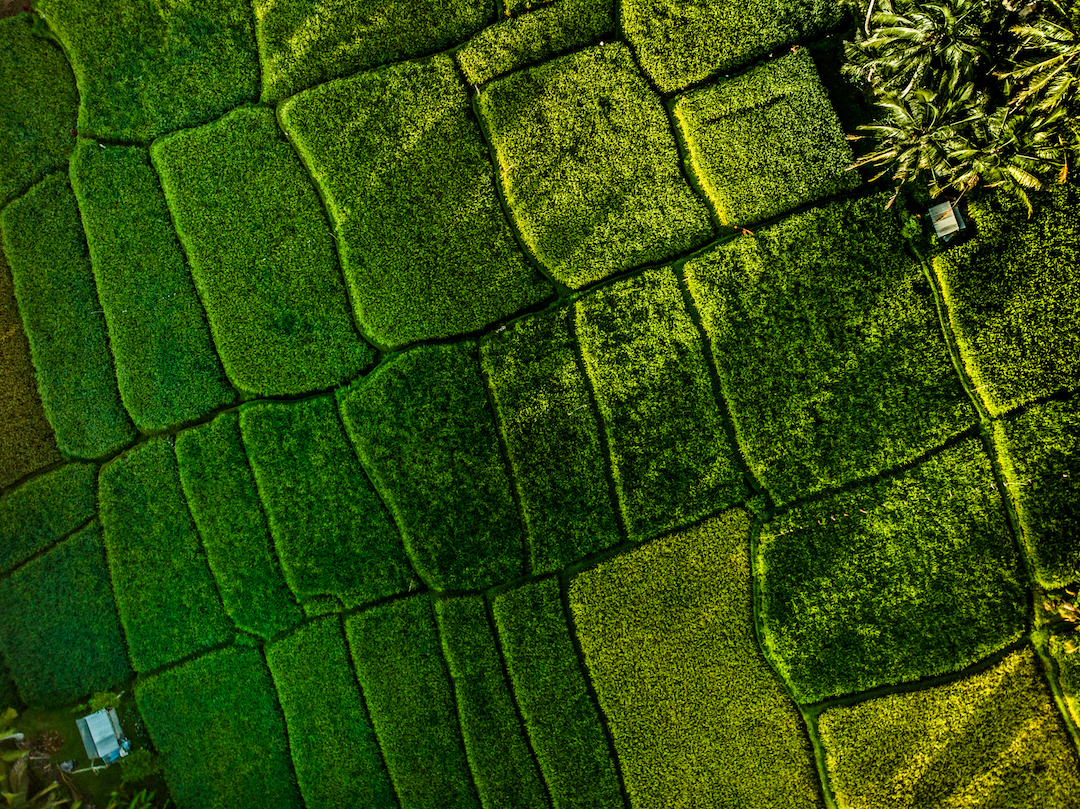
A widely used drone shot is taken in ‘top-down’ perspective which is usually taken from a quite high altitude with the camera pointing straight down. Extensively used and makes for super interesting and unusual compositions.
I use this shot quite often however I try to get the same location in a variety of angles to avoid repetition. Also, use the drone to its full potential, it has loads of options. As an example look at the exact same location from two different angles!
One of my other tips is to resist the urge to fly as high as you can from the start. Gradually increase altitude and keep on the lookout for interesting shots.
5. Fly for fun & be mindful of your surroundings
Following the rules and regulations was previously mentioned but a big part of responsible flying is to be mindful of your surroundings. Drones do make noise, be aware of that. Nothing more annoying than drones constantly zooming over your head when you try and enjoy a sunset for instance.
Work efficiently while flying when other people are around. I’m a fan of “get the shot and get out”. If there are other drone pilots, have a chat, tell them where you’re going to fly to avoid any unwanted meetings mid-flight.
Give each other some time to get the shots you wanted and then make way. Treat others how you’d like to be treated.
Don’t go too close to people that may not want to be in your photos. Animals usually don’t enjoy drones so try not to disturb nature for the sake of your shot.
I’ve once scared a bunch of cows because the drone appeared, whoops!
Follow the tips above and remember to have fun!
This article was brought to you by drone creator Roos Michels. All the images in this blog were taken by Roos. You can view more of her work on her Instagram at @roosmichels_.


